Showing posts with label Linda. Show all posts

Monday, 23 April 2012

Welcome to Nikki Silvis Week

Guess what?!

We're kicking off a brand new week of ideas and inspiration and a BRAND NEW partner!


We're so excited that we've teamed up with Nikki Silvis and her talented team of designers all this week!

That means ideas, layouts, cards, and more and yes...chances to win both here on the GlueArts blog and on the Nikki Silvis blog too!

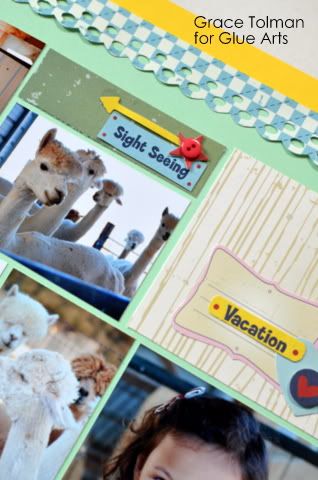
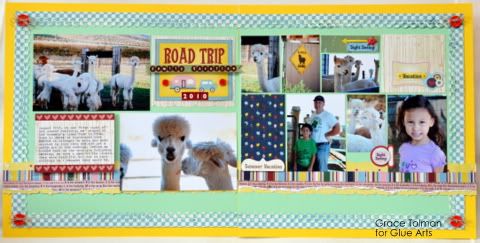
We're kicking off this week with a cute layout from Designer Grace Tolman using the brand new
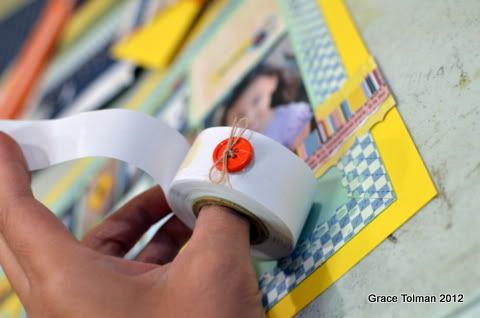
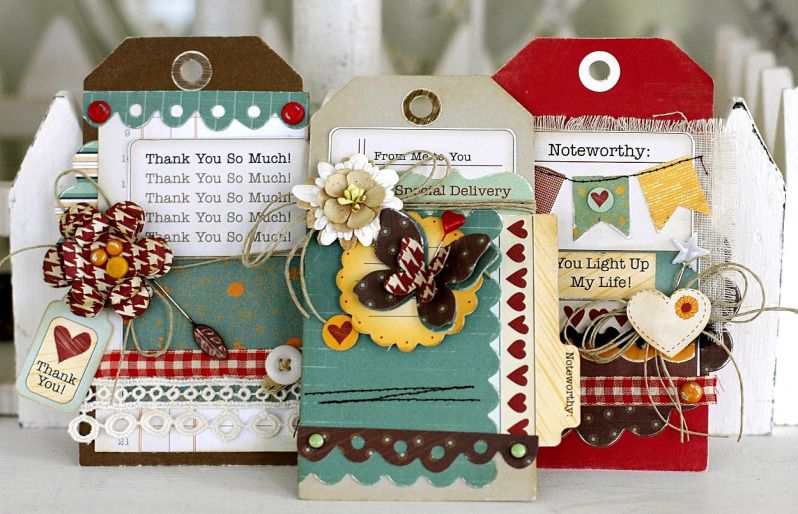
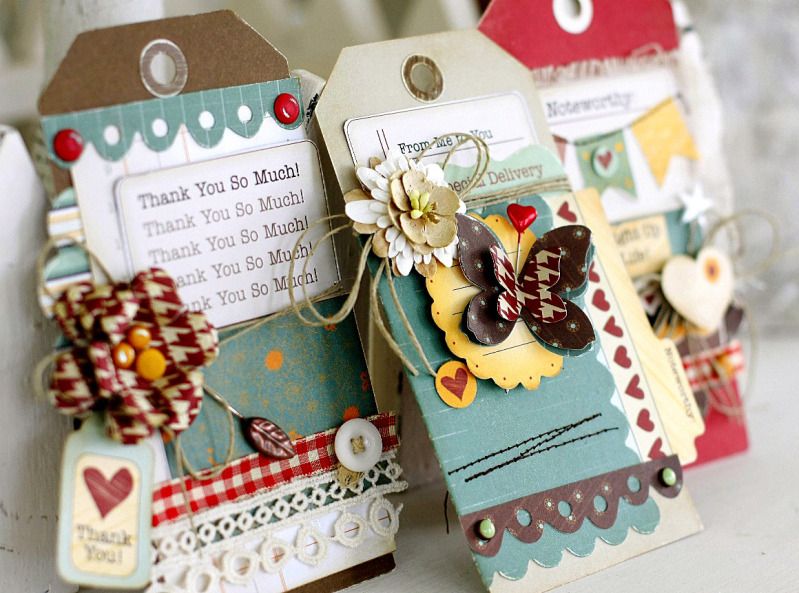
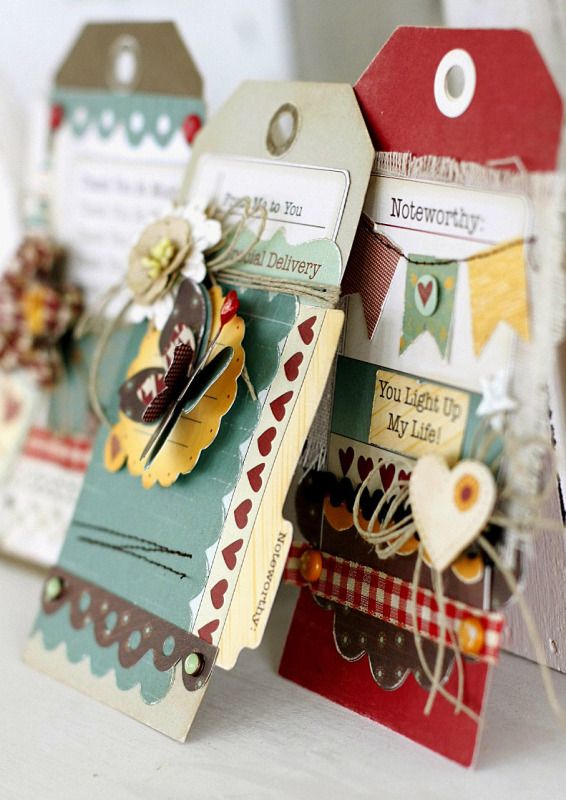
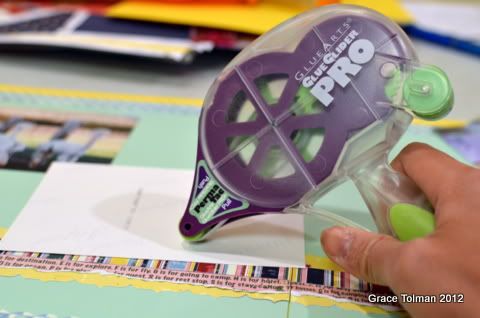
Exit Here Collection! Designer Linda Albrecht has an amazing assortment of beautiful tags with all sorts of goodies on them! Both Designers chose our Glue Glider PRO+ to help keep everything in place!



user posted image
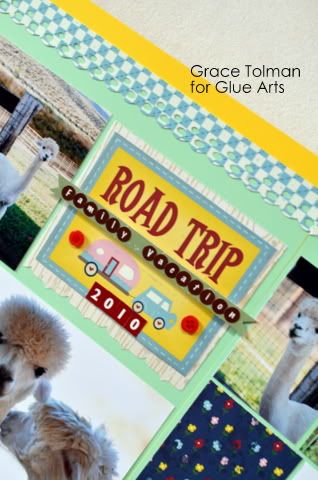
Road Trip Layout
GlueArts Designer: Grace Tolman 
user posted image

user posted image

Supplies Used:

Glue Arts Perma Tac
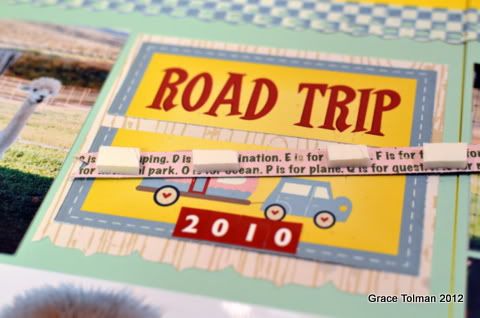
Glue Arts U cut it foam
Glue Arts Mini Square
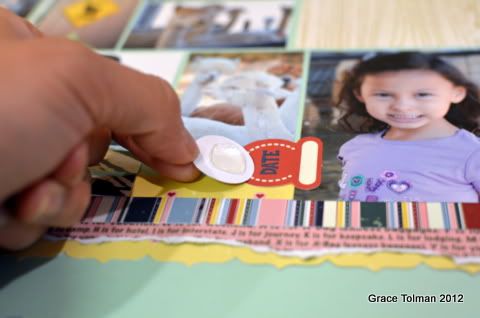
Glue Arts Raisen’s
Glue Arts Extreme Square
Cardstock- WorldWin
Pattern papers, stickers and die cuts- Exit here, Nikki Sivils
Buttons- Favorite Findings
Twine- Source Unknown
Border punches- Fiskars, Recollections
Typewriter- Royal

I used the Exit Here collection to produce this two page layout about a part of a family road trip vacation two years ago. As a scrapbooker, I took almost 300 photos of our two week trek but decided to split them up into a few pages so I don’t feel overwhelmed in trying to fill a single scrapbook page with tons and tons of photos. With the help of a themed collection like this from Nikki Sivils and Glue Arts adhesive, making this project was easy as pie.
user posted image

user posted image

user posted image

user posted image


user posted image
Gift Tags

GlueArts Designer: Linda Albrecht

Supplies:
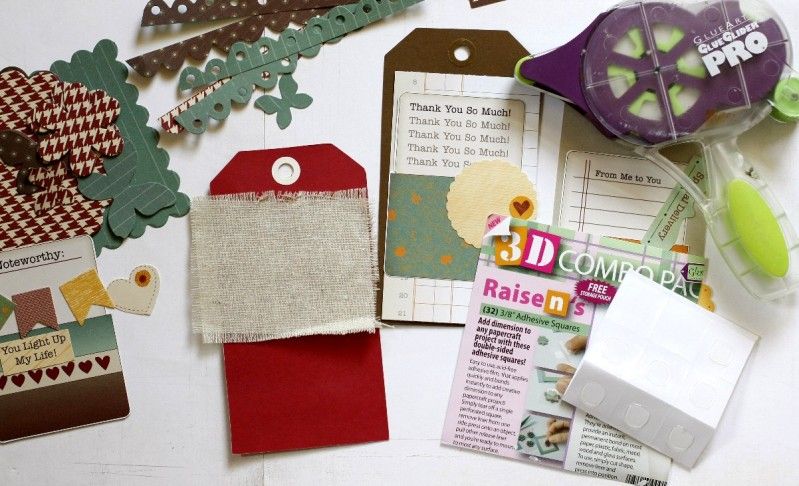
Glue Arts Glue Glider Pro+ with Perma Tac Adhesive
Glue Arts Raisen's & U-Cut-It Foam
Glue Arts Hot Melt Glue Gun with sticks
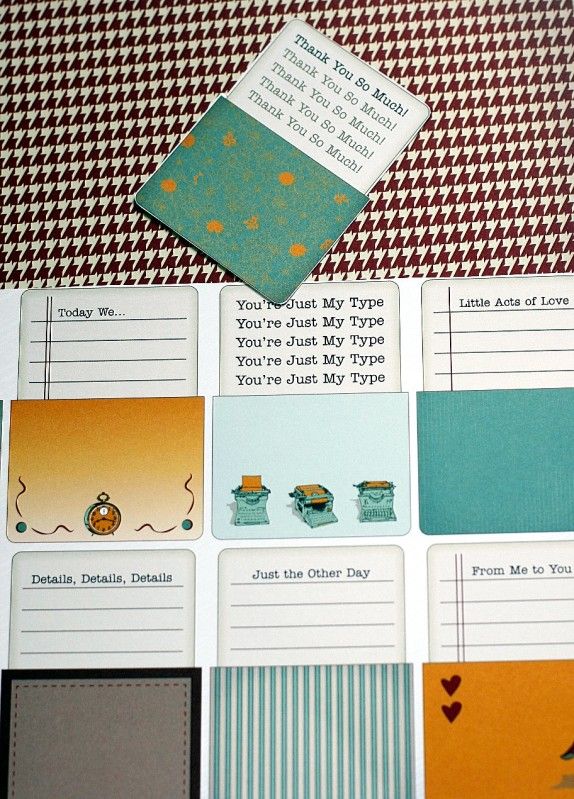
Nikki Sivils "Messages" Collection Kit
Buttons and brads- BasicGrey
Trinket Pins- Maya Road
Dies- AccuCut & Ranger
Flowers- Prima
Jute twine and miscellaneous trims & fabric

Instructions:


1. Cut sentiments from patterned paper then use other patterned papers for die cutting shapes for 

3 large tags.
user posted image

user posted image
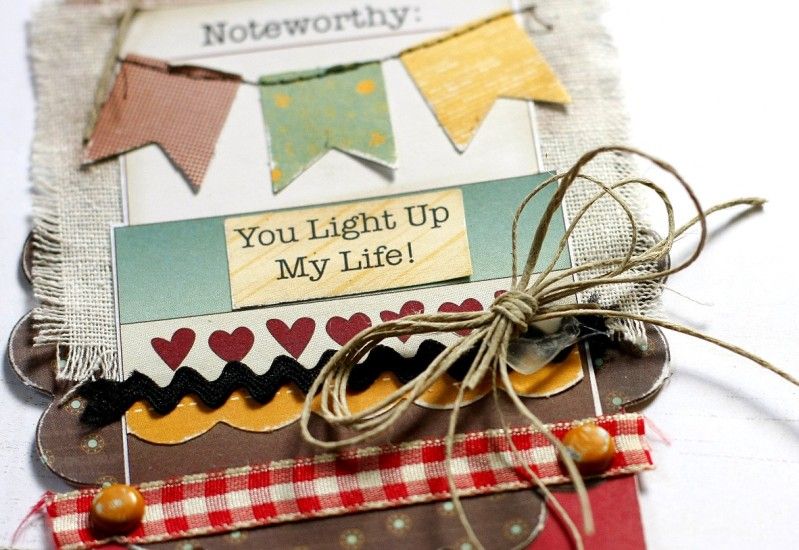
2. Layer papers and die cuts onto red tag with Perma Tac Adhesive, machine sew along tops of paper flag die cuts and add a Raisen dimensional adhesive square to the backside of heart die cut from collection kit.
user posted image
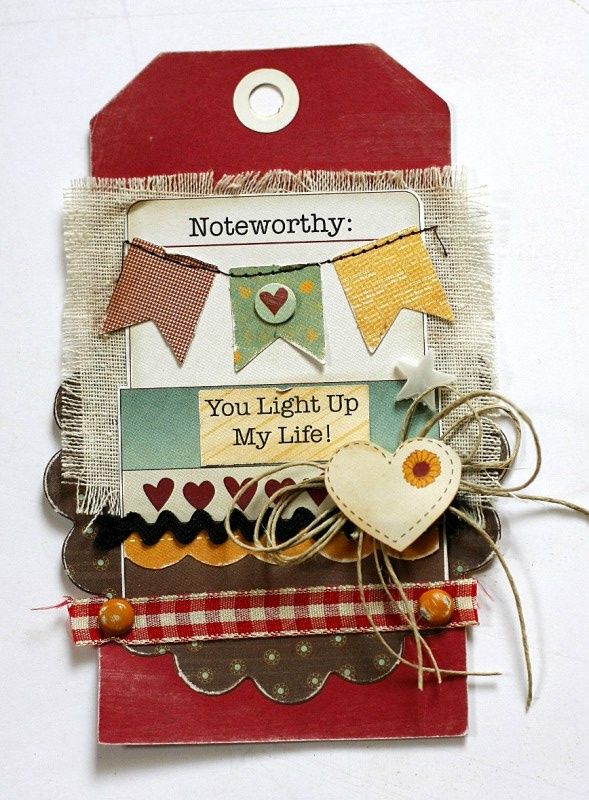
3. Cut 3 pieces of jute twine and tie all into a bow. Apply a Raisen dimensional adhesive square to the tag and place the jute bow on top of it.
user posted image
4. Add the heart with Raisen onto the top of the jute bow and add a star trinket pin.
user posted image
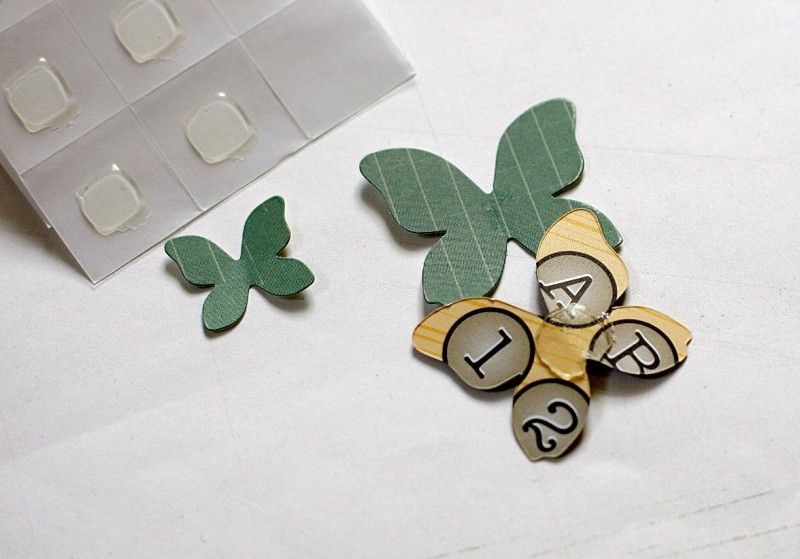
5. Layer largest butterfly diecuts together with a Raisen.
user posted image
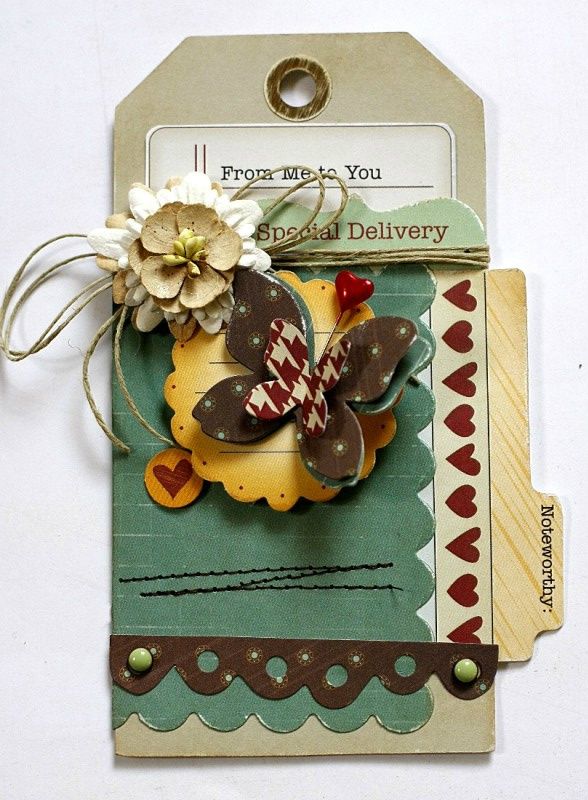
6. Apply papers and die cuts onto the tan colored tag. Wrap jute twine around the tag a couple of times then tie into a bow on left side. Apply u-Cut- It Foam to a die cut label from the kit and place below the jute bow.
user posted image
7. Adhere paper flowers to the not on the jute bow. Adhere layered butterfly to label and insert red heart trinket pin for antennae.
user posted image

8. Adhere papers and die cuts to brown tag then wrap jute twine around tag and tie ends in a bow. Make a flower from patterned paper and adhere layers together with Perma Tac Adhesive then apply 3 brads to the center.
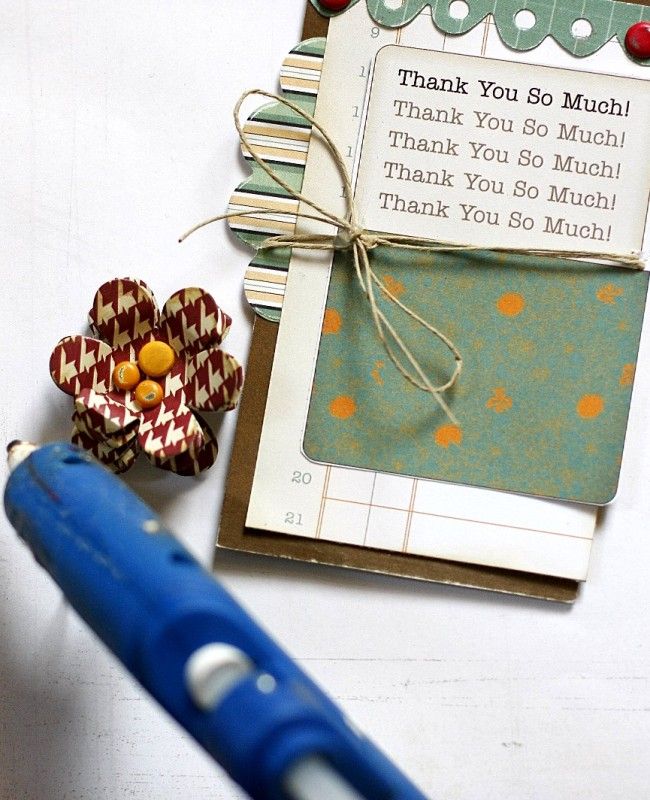
user posted image
9. Adhere paper flower to tag with hot glue and add desired trims near bottom of tag and add a button to trim end and a trinket pin behind flower.
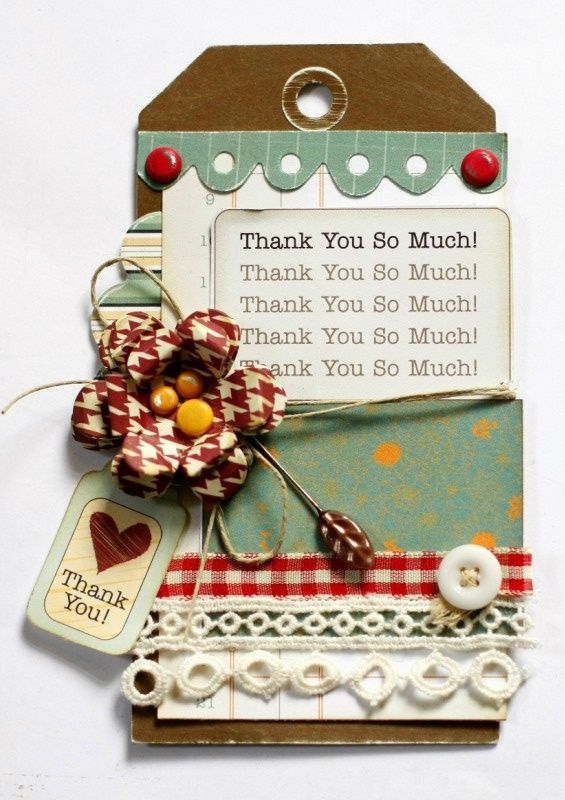
user posted image

user posted image

user posted image
Be sure to stick around all week for chances to win!! 

And speaking of winners...we have not one but two winners to share with you today!

Our first winner of our Raisen's is:


Scrapycandy said...
I am making a shadow box full of items from our beach trip. the Raisen's would be perfect! Thanks.
April 17, 2012 5:54 PM


Our second winner of our 8,000th fan giveaway is:


Suba said...
Hi!

Part of FB's Fan Fun.
Love the way you've used the Raisens. Can think of a bunch of uses.
Thanks for the chance to win!

April 22, 2012 10:32 PM


Be sure to stop by the Nikki Silvis Blog for more ideas and ways to win all week long!!
Winners please email me at Gluegirl@gluearts.com with your information. 

Friday, 13 April 2012

Shine a Bit of Light With GlueArts Raisen Adhesives


I love light... I love the beauty of it and the mood it can invoke. I picked up a set of 3 round paper lanterns awhile ago at a craft store when they were half off and have always wanted to pretty them up. This embellishment project was inspired by the Glue Arts Raisen's Adhesive Squares... they were perfect to make the layered flowers that I made for the paper lantern because of their dimension. I can't imagine that another type of adhesive would have made these flowers any easier to put together. 

user posted image

"Embellished Paper Lantern" 


GlueArts Designer: Linda Albrecht

Supplies:


Other:
10" Round Paper Lantern- Hobby Lobby
Pearl Flower Stamins (for butterfly antennae)- Hobby Lobby Wedding
Die Cut flowers and butterflies- AccuCut 
Small Paper daisy flowers- Martha Stewart Wedding
Pearls for flower centers- Melissa Frances
Blue Crepe paper- Melissa Frances
Green leaves trim- May Arts
Old book paper
White tissue paper
Light Cord set for hanging- Ikea

Instructions:

1. Open paper lantern and insert wire base provided. Cut desired flower and butterfly shapes.


user posted image


2. Apply Raisen Adhesive Square to the bottom book paper flower. Cut a slit through another flower and use a Micro Extreme Adhesive Square to overlap a couple of the petals to make it 3 dimensional. (If your 3D flower diecut does not have a hole in the center, punch a large hole so that you can add 3 flower layers to the Raisen.)


user posted image


3. Stick the 3D flower to the center of the Raisen Adhesive Square that is in the center of the bottom flower.

user posted image


4. Stick the blue crepe paper flower to the center of the Raisen then add small daisy like flower to the center of the crepe paper flower with a Micro Extreme Adhesive Square.

user posted image

user posted image

5. I also used the Micro Extreme Adhesive Squares to layer the tissue paper and book paper for the butterflies.

Add white tissue paper flowers and butterflies to the paper lantern using Micro Extreme Adhesive Squares before adding the 3D flowers that were put together with the Raisen's.

user posted image


6. Use hot glue to adhere the pearl antennae to the butterflies. 

user posted image

user posted image


7. Use hot glue to adhere the 3D flowers onto the white tissue paper flowers on lantern.

user posted image


8. I applied the flowers and butterflies at a diagonal onto the paper lantern then just wound the green leaf trim through them, adding a Micro Extreme Adhesive Square at random to the back of a leaf.

user posted image


9. Hang up your pretty paper lantern and enjoy! :-) i might go and add some more white tissue paper butterfly layers to the lantern because I love what the light does to them when it is on... so soft and serene looking.


user posted image

user posted image

How incredibly beautiful is that? And think of all the possible styles, designs and themes you can create!


Leave us a comment today and let us know how you would use ourGlueArts Raisen's for your next project! We'll enter you to win two pack of our Raisen's along with a pack of our U Cut It Foam! Both products are perfect for adding just a bit of dimension for your crafts and more! We'll pick one random winner next Monday!


Can't wait...no need! You can shop online right from the convenience of your home, Ipad, Iphone, Android phone! GlueArts offers safe shopping and best...FREE SHIPPING all month!